All Categories
Featured
Table of Contents
- – Irrigation Service Brea, CA
- – Pacific Green Landscape Maintenance
- – Lawn Sprinkler Installers Brea, CA
- – Lawn Irrigation Companies Brea, CA
- – Lawn Irrigation Companies Brea, CA
- – Residential Irrigation Repair Brea, CA
- – Lawn Irrigation Services Brea, CA
- – Sprinkler Installers Brea, CA
- – Irrigation Service Brea, CA
- – Residential Irrigation Repair Brea, CA
- – Residential Irrigation Repair Brea, CA
- – Irrigation System Maintenance Brea, CA
- – Sprinkler Systems Installers Brea, CA
- – Installing A Sprinkler System Brea, CA
- – Pacific Green Landscape Maintenance
Irrigation Service Brea, CA
Pacific Green Landscape Maintenance
6530 Whittier Ave Whittier, CA 90601-3919(562) 203-3567
Pacific Green Landscape Maintenance
Exact same offer: utilize the brush to layer all sides with it. It's quite gooey, but once again attempt not to leak it on anything you don't want a blue discolor on.
I recognize this doesn't seem like a tough job, and it's not. I had some of the worst sleeps of my life during this task because I had actually tweaked my shoulder in a method that really did not allow me to lay on it.
To install right into your piping, the valves I made use of took some threaded couplings that I firmly safeguarded with some plumbing technicians tape and a number of tightening twists of my wrench - Brea Landscape Irrigation Repair. I do not have any type of photo of the installment, however I made use of the same cementing procedure to connect the combinings to the rest of my pipe, right where each of my area water lines branched off the primary line
Mine needed to be included throughout the pipeline set up, but some can lay over your pipe afterward. The valves need to be wired to your controller, so I'll show you this part currently, yet I actually did my circuitry besides of my piping was finished. Once more, I'm using a 10-conductor below ground cable that, when cut open, has 10 hairs of different shades.
Lawn Sprinkler Installers Brea, CA
I made black the common cord and after that simply went in "rainbow order" to help me keep my zones straight. The gray and brownish cords might be made use of later on if I intended to include 2 even more zones. And lengthy story short, the zone 2 wire (red) jammed as I tried to put it in, so it really did not attach fully.
Instead of buy a substitute controller, I just bypassed Zone # 2. That implies I'm making use of Area # 1, then Areas # 3-7 to control my six areas. Among the numerous tiny nuisances of this project, yet at the end of the day, no biggie. With my controller wired (but still not connected in) I then threaded the cord throughout the backyard, with my primary line trench, right to my first shutoff.
At each shutoff, I needed to connect among the vavle's red wires to the black (typical) wire and the various other to the color that would certainly control that area (this would be my Zone # 5, so I made use of eco-friendly to refer the wiring at the controller). This would literally be the end of the line for the environment-friendly cord, considering that it's not required on the valves better down the line.
Lawn Irrigation Companies Brea, CA
Same chooses the black usual cable, which is why you see two black hairs going right into the wirecap pictured above. In retrospect, I most likely might've found out a way to not reduce all of the colors at each valve and just extract the shades required which would've saved great deals of time.
By the last valve the only strands left were the Zone # 1 color (pink), the usual (black), and my two unused colors (gray and brown). I proceeded my unused shades throughout the important things to ensure that I could include a new area at any kind of point within the system without having to rebury an entire brand-new line.
Lawn Irrigation Companies Brea, CA
shows virtually what I was intending for, based on what I had actually seen on other homes in the location. The only thing disappointed is additionally a blowout, which is a pipeline that stands out from the primary line that remains capped all year, until the fall when you require to winterize your system (also known as, get all the water out of the lines so they do not freeze and bust things up).
Here's what mine looked like at one point sorry my only photo is from when I had actually taped off the backflow tool in order to spray the revealed PVC brown to blend in with its all-natural environments. You can see my blowout there on the bottom right. Spoiler alert: there are some errors below, yet I'll arrive soon.
Residential Irrigation Repair Brea, CA
Their pipeline was copper, so I had to acquire a unique SharkBite combining that would link copper to PVC. The link had to do with 2.5 feet in the ground, which made it very challenging to deal with and after a couple attempts, I just couldn't obtain the lines to attach without dripping.
The next man ultimately got it, and figured out there was a wound on the bottom of the area's pipe (which none of us can see) and it wasn't up until he reduced that component of the copper pipeline off did we get a leak-free link. It was very bothersome and cost us regarding $150 to resolve.
Lawn Irrigation Services Brea, CA
I fall short the examination in 3 different incredible ways. I have to dig it back out once again.
My viewpoints of DIYing a watering system had actually absolutely altered. It took me a couple of hours to reconfigure whatever and now it looks a little something like this.
Sprinkler Installers Brea, CA
I constructed these connections in bulk one night on the sofa turning the swing pipeline arm joints right into a pair loads tees, too right into some white arm joints that would certainly go at the end of each area's water line. They were rather simple to thread by hand, but then I stuck a screwdriver ultimately of the grey elbow joint to offer me leverage to tighten them a pair much more turns.
They simply twisted on with a little bit of pressure. That exact same night on the sofa I also one prepared my sprinkler heads in mass (I had 27 in complete, including misters). This indicated twisting the little grey elbow joints into the back of every one and mounting red nozzles right into each one based on the sort of spray I desired.
It took an unexpected quantity of force to maintain it from snapping back in (note my white-fingertip grip). The following day I was able to install every one of my lawn sprinkler heads to the other end of the funny pipe, sufficing to the desired size to ensure that I could position my lawn sprinkler head specifically where I desired it in the ground.
You want it low enough that you won't catch your mower blade on them. After that it was time to visit each head and established the spray arc. I will not enter into the detail of this (simply follow your supplier's instructions) yet it did entail some more pulling with that said special key tool, so I'm not going to say it was quick and easy (I 'd best define it as tedious, particularly since we have 27 lawn sprinkler heads!).
Irrigation Service Brea, CA
The last few steps were, for one, completing all the holes and trenches that had actually crisscrossed our yard for three weeks. Thanks to some hefty rainfalls in there at some factor, my dirt stacks had become dried, sloppy globs so it took a little bit of initiative to get everything completed, however we ultimately got it done.
I'll take all the good information I can obtain! In between the battery of hiccups, the tiresome physical exertion, and the general stress and anxiety I put myself under during this task it will go down in history as the Do it yourself job I most be sorry for not hiring out (and I most likely would not recommend to anybody unless they have a smaller sized lawn or more previous plumbing/irrigation experience).
Residential Irrigation Repair Brea, CA
That's not functioning continuous on it for that time duration, obviously, but still much longer than the 2 or 3 days my next-door neighbor had initially forecasted. And I do not criticize him for "obtaining me right into this mess" whatsoever. He couldn't have prepared for some of the difficulties (the slow-to-use plate, the copper pipeline link, the adjustments to the inspection demands, etc) and I'm really thankful for his assistance that initial weekend break.
And that doesn't consist of the reality that I now know how to winterize it in the late fall and exactly how to get it ready each springtime (something that people typically pay $75-$150 a year to have a watering firm do). It additionally stands to reason that because I recognize exactly how the system functions, I should in theory have the ability to repair things or include onto it must I ever before require to.
Yes, not the smoothest task I have actually ever before done. Possibly I ought to dip into that cost savings for a massage to attempt to work out that persistent shoulder kink * This article contains affiliate web links.
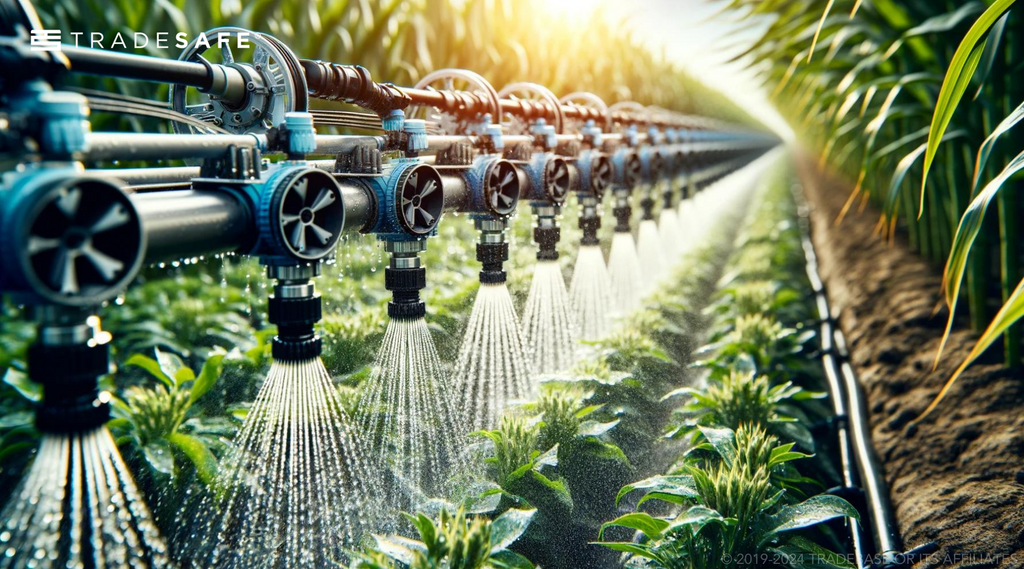
An efficient irrigation needs 2 crucial elements: the ideal style and the ideal products. A watering system is not merely putting lawn sprinkler heads to simply get the landscape wet. It needs to take your specific landscape and residential or commercial property right into account. While we are constantly wanting to supply that lovely eco-friendly grass, we additionally wish to avoid over saturation of water and waste.
Residential Irrigation Repair Brea, CA
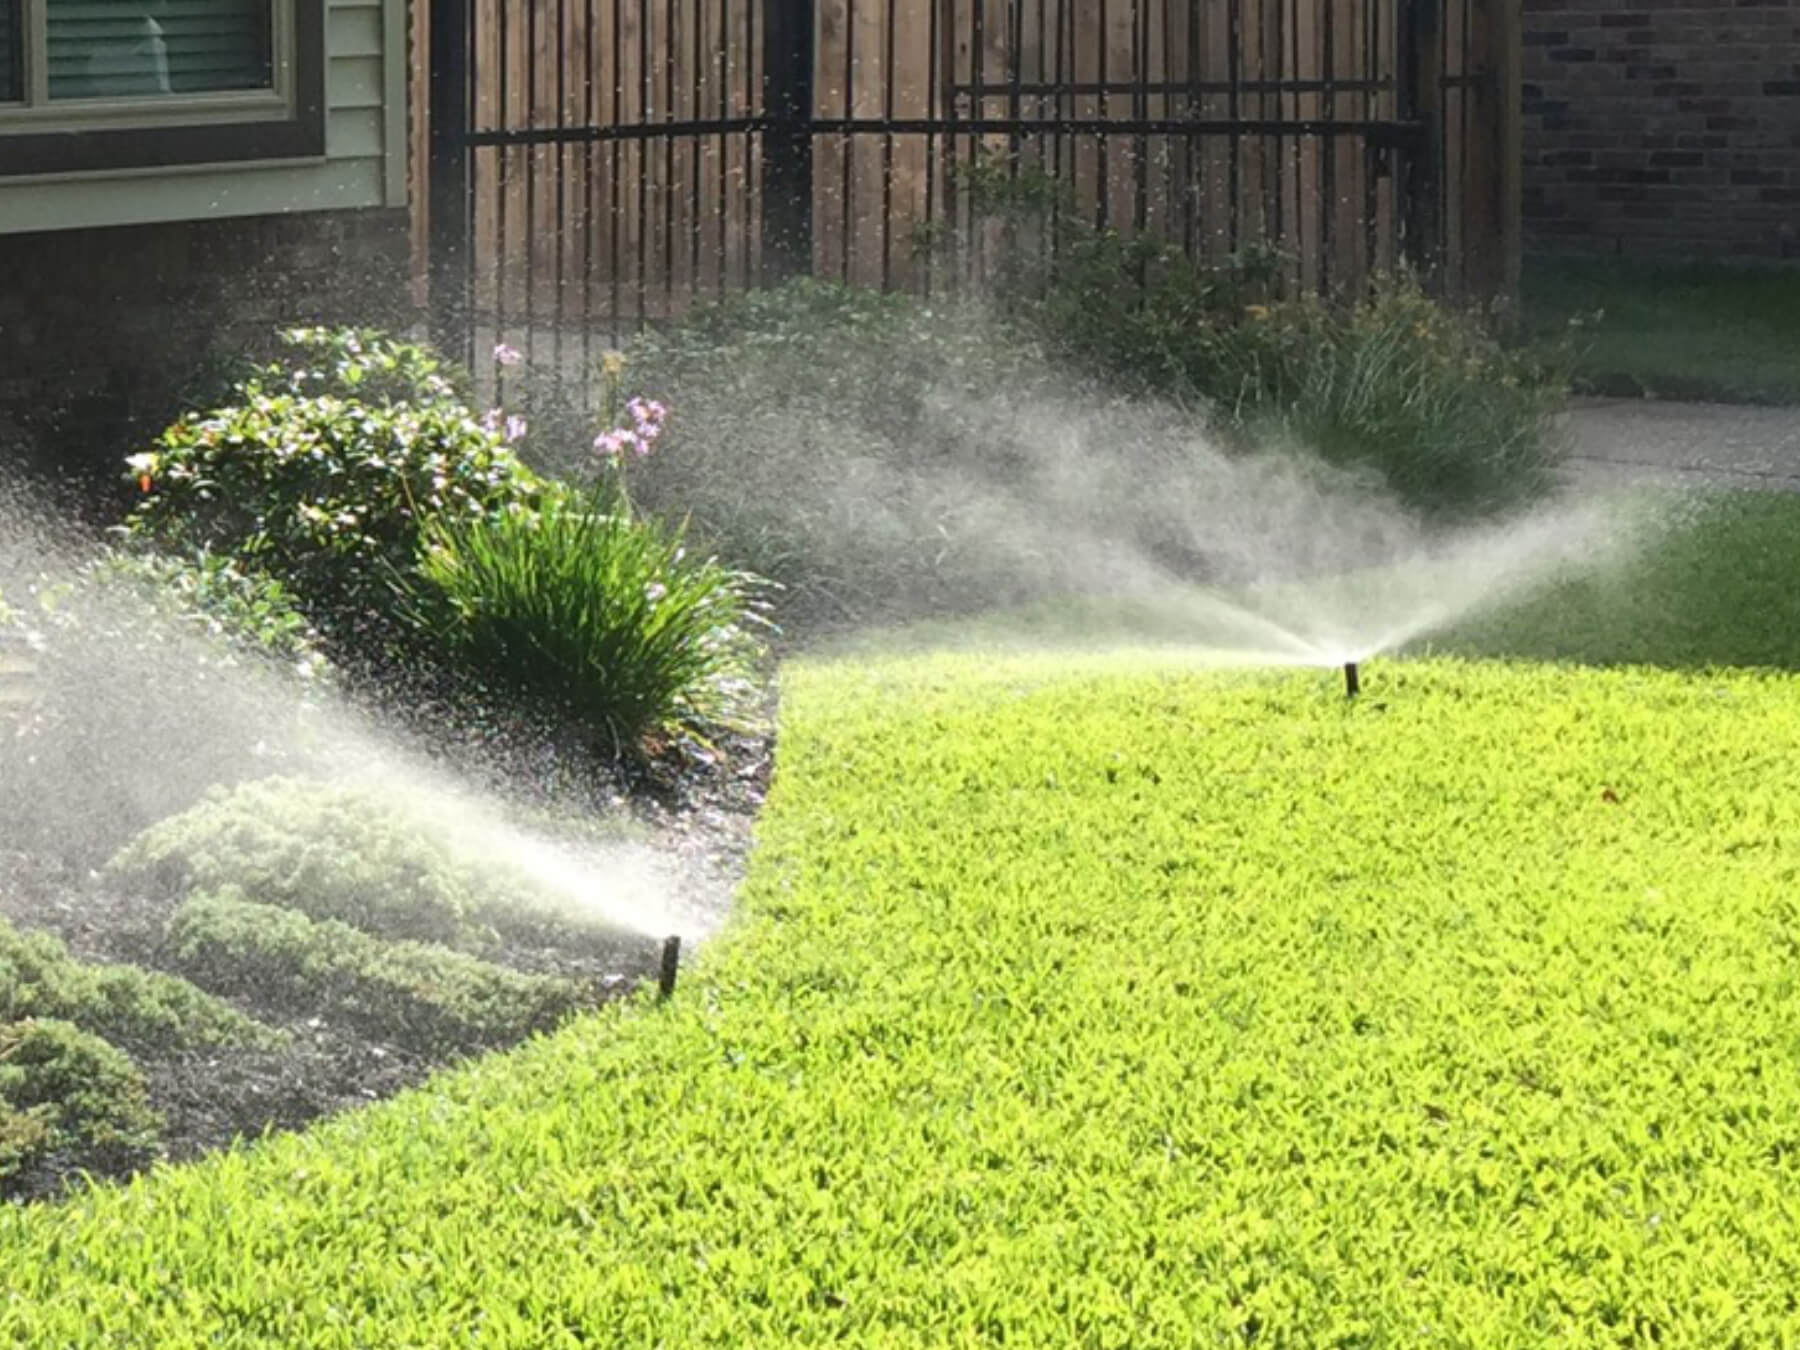
The Toro Accuracy Spray Nozzles water much more uniformly and conserve on average 35% of the water used when contrasted to traditional nozzles. Matched Rainfall All systems are developed with complete head-to-head insurance coverage to give complete coverage to match rain as best as possible Not only are Conserva Watering's new automatic sprinkler designed with top of class elements, however Conserva Watering also offers an industry best 5 year warranty on all new systems offered Conserva Watering is servicing the system annually.
You intend to employ a business that you can rely on. When aiming to work with, ask your potential service providers these vital questions: Are you insured? Are you accredited? Do you supply solution and maintenance? Do you have a contentment warranty? If the answer to any of these inquiries is "no," they might not be the appropriate company for you.
Irrigation System Maintenance Brea, CA
The automatic sprinkler installation procedure takes time and expertise to make certain your brand-new system is exactly what you desire. This is why we take fantastic like make certain you are educated concerning every step of your install the whole time the way. Click below to download your New System Install Refine Guide.
Examination Water Stress: Make use of a stress gauge to check the water pressure from your resource. This details is important for choosing the best components and ensuring your system runs successfully (Brea Landscape Irrigation Repair). Attract a Thorough Plan: Based on your garden's layout and plant needs, illustration where pipes and emitters (lawn sprinklers or drip heads) will go
Plan for Zones: If your yard has varied plant types, consider separating it right into watering zones. This step is essential to ensure your system conforms with local guidelines and to avoid potential penalties or required alterations later on.
Sprinkler Systems Installers Brea, CA
An irrigation system is not merely positioning sprinkler heads to just obtain the landscape wet. While we are constantly looking to supply that attractive green grass, we additionally want to avoid over saturation of water and waste.
The Toro Accuracy Spray Nozzles water extra evenly and minimize average 35% of the water utilized when contrasted to standard nozzles. Matched Precipitation All systems are made with complete head-to-head insurance coverage to give full protection to match rainfall as best as feasible Not only are Conserva Watering's brand-new automatic sprinkler made with top of class components, yet Conserva Irrigation additionally supplies a market finest 5 year service warranty on all brand-new systems provided Conserva Watering is servicing the system every year.
You want to hire a business that you can trust. When looking to hire, ask your prospective specialists these essential questions: Are you guaranteed? If the solution to any of these concerns is "no," they might not be the best company for you.
The lawn sprinkler installment process takes time and competence to make certain your new system is precisely what you want. This is why we take terrific like make certain you are educated concerning every step of your mount all along the way. Click below to download your New System Install Process Overview.
Installing A Sprinkler System Brea, CA
Examination Water Pressure: Make use of a stress gauge to inspect the water pressure from your resource. This info is important for choosing the appropriate elements and guaranteeing your system operates successfully. Draw a Thorough Plan: Based upon your yard's layout and plant demands, sketch where pipelines and emitters (lawn sprinklers or drip heads) will go.
Pacific Green Landscape Maintenance
Address: 6530 Whittier Ave Whittier, CA 90601-3919Phone: (562) 203-3567
Email: pacificgreencompany@gmail.com
Pacific Green Landscape Maintenance
Strategy for Areas: If your yard has varied plant types, take into consideration separating it right into irrigation zones. This step is crucial to ensure your system abides with neighborhood standards and to prevent possible fines or needed alterations later on.
Lawn Irrigation System Brea, CAIrrigation System Repair Service Brea, CA
Sprinkler Systems Installers Brea, CA
Installing A Sprinkler System Brea, CA
Commercial Irrigation Services Brea, CA
Irrigation Installer Brea, CA
Irrigation Maintenance Brea, CA
Sprinkler Installer Brea, CA
Sprinkler Systems Near Me Brea, CA
Irrigation Maintenance Brea, CA
Install Sprinkler System Brea, CA
Irrigation Installer Brea, CA
Sprinkler Installation Companies Brea, CA
Irrigation Installers Brea, CA
Irrigation System Maintenance Brea, CA
Lawn Irrigation System Brea, CA
Irrigation Installer Brea, CA
Irrigation Service Brea, CA
Irrigation Installers Brea, CA
Irrigation Repair Services Brea, CA
Irrigation Installers Brea, CA
Lawn Sprinkler Repair Brea, CA
Lawn Sprinkler Installers Brea, CA
Lawn Sprinkler Repair Brea, CA
Lawn Irrigation Companies Brea, CA
Irrigation System Maintenance Brea, CA
Sprinkler Installation Companies Brea, CA
Commercial Irrigation Repair Brea, CA
Commercial Irrigation Repair Brea, CA
Irrigation Maintenance Brea, CA
Commercial Irrigation Services Brea, CA
Landscape Irrigation Repair Brea, CA
Sprinkler Installers Brea, CA
Irrigation Maintenance Brea, CA
Residential Irrigation Repair Brea, CA
Sprinkler System Repairs Brea, CA
Sprinkler Systems Installers Brea, CA
Lawn Sprinkler Companies Brea, CA
Irrigation Repair Services Brea, CA
Landscape Irrigation Repair Brea, CA
Landscape Irrigation Repair Brea, CA
Irrigation System Installers Brea, CA
Sprinkler System Installer Brea, CA
Irrigation Installers Brea, CA
Lawn Sprinkler Companies Brea, CA
Irrigation Repair Services Brea, CA
Irrigation Repair Services Brea, CA
Sprinkler Systems Installers Brea, CA
Landscape Irrigation Repair Brea, CA
Lawn Irrigation System Brea, CA
Commercial Irrigation Repair Brea, CA
Irrigation System Installers Brea, CA
Landscape Irrigation Repair Brea, CA
Sprinkler Installation Companies Brea, CA
Irrigation Installer Brea, CA
Irrigation System Repair Service Brea, CA
Landscape Irrigation Repair Brea, CA
Lawn Sprinkler Service Brea, CA
Lawn Irrigation Services Brea, CA
Sprinkler System Installer Brea, CA
Installing A Sprinkler System Brea, CA
Install Sprinkler System Brea, CA
Install Sprinkler System Brea, CA
Find A Good Seo Solutions Brea, CA
In Seo Firm Brea, CA
Pacific Green Landscape Maintenance
Table of Contents
- – Irrigation Service Brea, CA
- – Pacific Green Landscape Maintenance
- – Lawn Sprinkler Installers Brea, CA
- – Lawn Irrigation Companies Brea, CA
- – Lawn Irrigation Companies Brea, CA
- – Residential Irrigation Repair Brea, CA
- – Lawn Irrigation Services Brea, CA
- – Sprinkler Installers Brea, CA
- – Irrigation Service Brea, CA
- – Residential Irrigation Repair Brea, CA
- – Residential Irrigation Repair Brea, CA
- – Irrigation System Maintenance Brea, CA
- – Sprinkler Systems Installers Brea, CA
- – Installing A Sprinkler System Brea, CA
- – Pacific Green Landscape Maintenance
Latest Posts
Alhambra Restaurant Ventilation Cleaning
Commercial Kitchen Ventilation Valley Village
Heat Pump Repair Los Angeles
More
Latest Posts
Alhambra Restaurant Ventilation Cleaning
Commercial Kitchen Ventilation Valley Village
Heat Pump Repair Los Angeles